

Improving the acoustics in a room in your home is a great idea to pursue. By soundproofing the walls and ceilings in your rooms, not only will you reduce acoustic noise and enjoy an enhanced level of peace and quiet, but you will also indirectly increase the value of your home.
This is why many people take advantage of remodeling or finishing their home with soundproofing insulation materials. Unfortunately, much of the information out there makes this process seem more difficult than it really is, so I want to show you the best way to soundproof a room on your own.
Quick Navigation:
Which Rooms Should You Soundproof?
All rooms in your house can benefit from a soundproofing remodel. The most popular projects are as follows:
Basements
Remodeling and finishing a basement with soundproofing techniques will create a peaceful and quiet level in your house that can now be utilized as a private and income flowing rental suite, or a game and sports room that won’t distract the rest of the house with all the fun.
Laundry and Furnace Rooms
Soundproofing a room such as this can simply isolate the noise generating appliances from the common living areas. The annoying hum of the washer and dryer units will be a problem of your past.
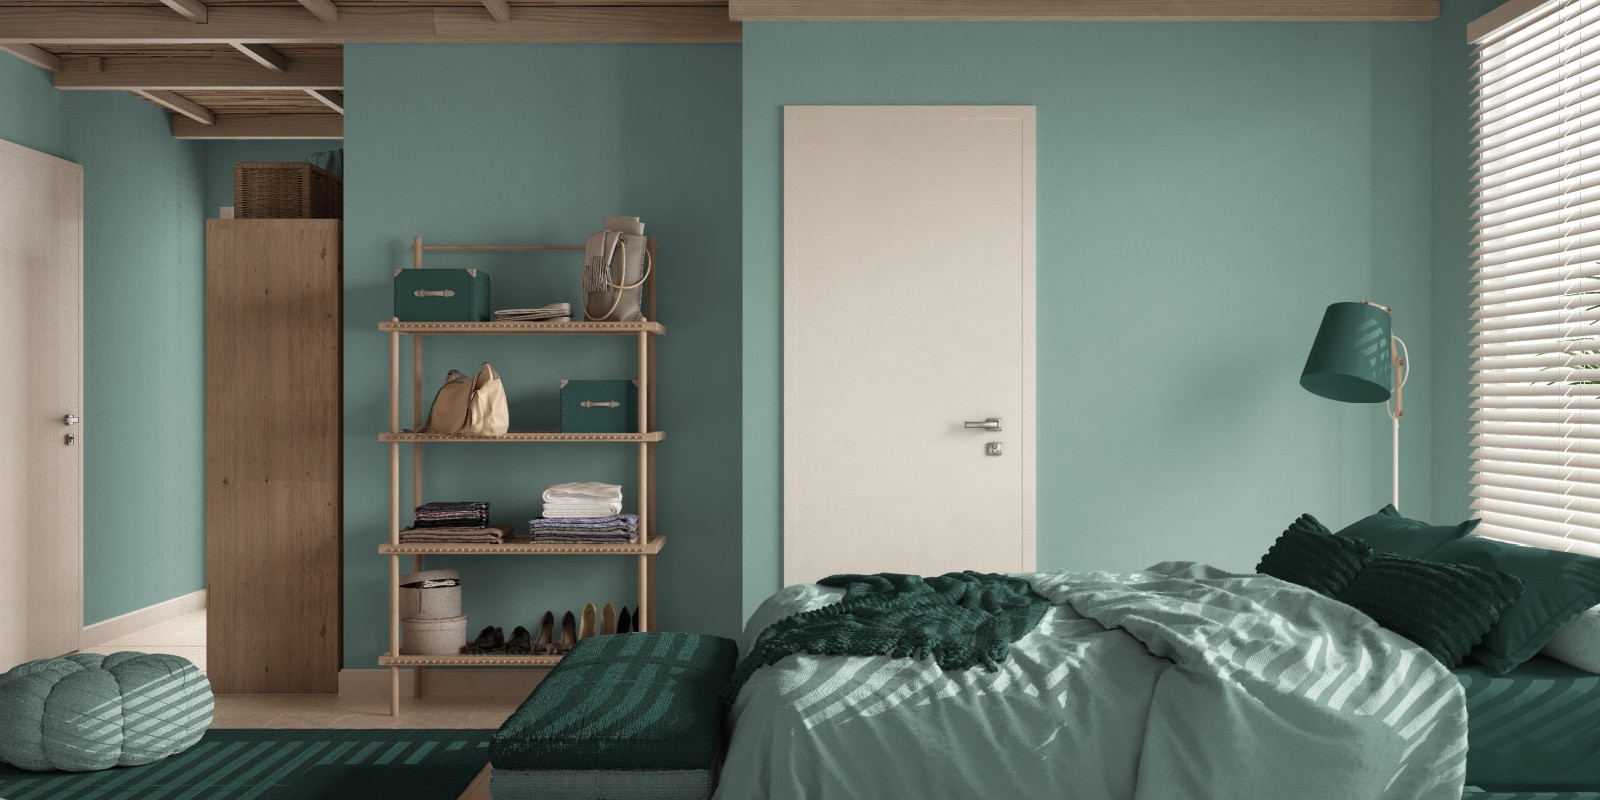
Bedrooms and Bathrooms
Bedrooms and bathrooms are the obvious rooms of choice for soundproofing projects. You can convert your bathroom and bedroom into a romantic spa type suite where you can get as much continuous rest and relaxation as you need.
Home Office
If you are a telecommuter and have the luxury of working from home, you know exactly how disruptive and distracting noise in the house can become when you’re trying to your job. Soundproofing your new home office can help transform it into an office of a professional where you can finally and truly focus on your job.
Home Theaters
Turning a basement or extra bedroom into a home theater is extremely popular today. By soundproofing the walls and ceiling you are on the way to achieving theater quality acoustics while not keeping the rest of the up at night.
Soundproofing Instructions
These instructions make the assumption that your room to be soundproofed is ready for finishing, and that you have purchased all materials including your chosen types of soundproofing insulation. That just means that the wall and ceilings are open (no drywall), electrically wired, and any plumbing is complete.
Tools you will need are a serrated knife (bread knives work well) for rockwool insulation, utility knife, electric drill, and a tape measure.
Soundproofing the Walls
Soundproofing insulation batts and panels are designed to press snuggly into standard wood stud wall cavities. Press the soundproofing tightly in between the studs, leaving no air gaps for sound to pass through.
You will inevitably encounter obstructions in the walls. This is easily solved with the bread or utility knife. Just carve out a v shaped notch for pipes and electrical wires. For electrical boxes, it can be take some practice to get the right measurements for a snug cutout.
This video by Roxul, the manufacturer of rockwool insulation shows these techniques for soundproofing your walls nicely.
Once all the studs are filled with insulation, you can finish them off with drywall. Use the thickest drywall you can afford. The extra thickness of soundproof drywall sheets adds mass, and mass helps to absorb sound waves.
If you want to go the extra mile, and can afford the added cost, you can add resilient channels in between the drywall and the insulated stud wall.
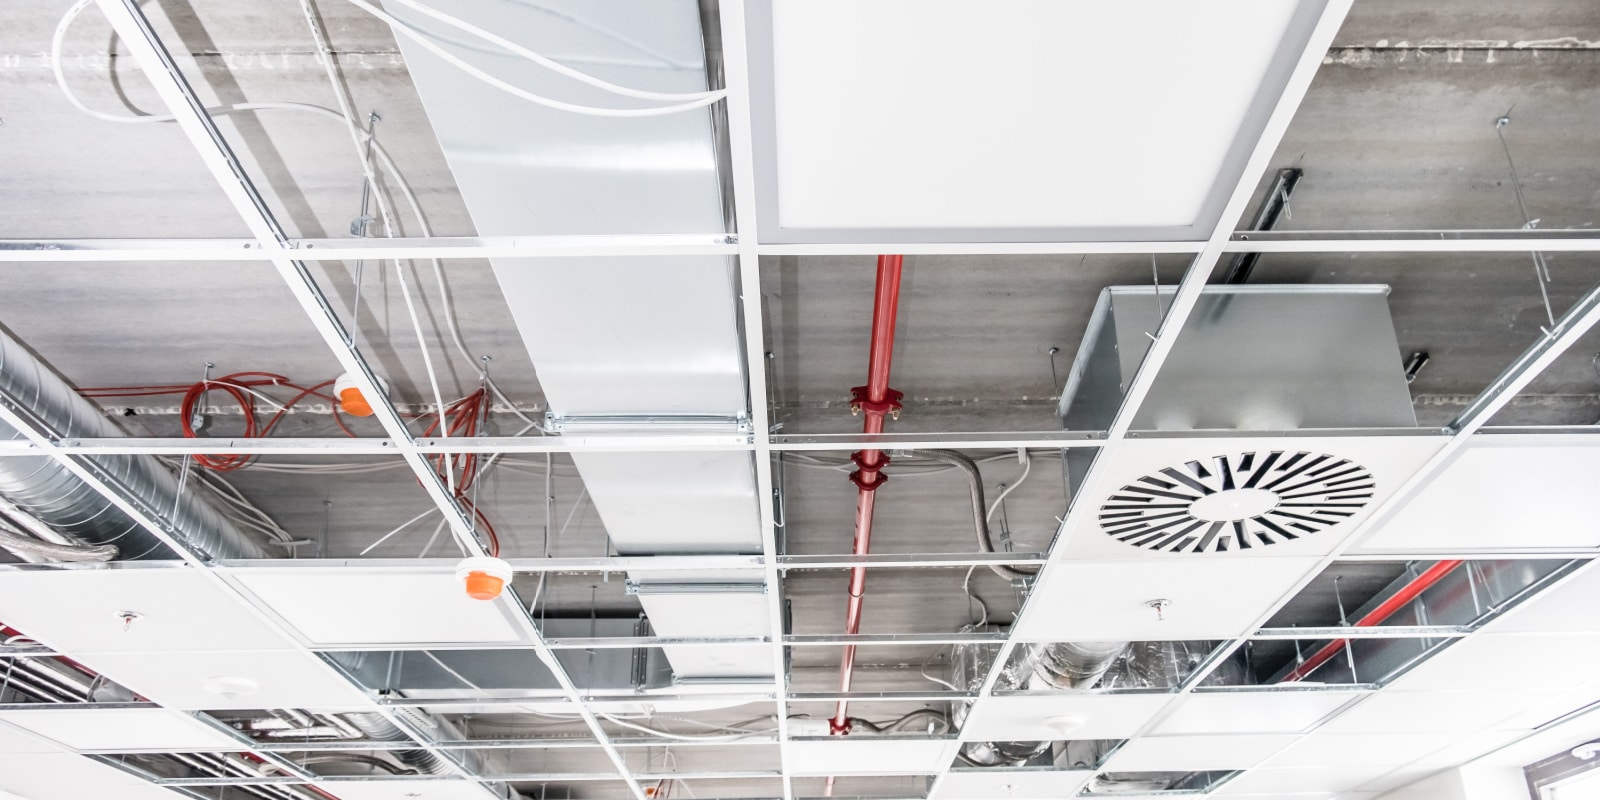
Soundproofing the Ceilings
The best way to soundproof a room ceiling is very similar to the walls. The only difference is the added vibrational noise that occurs from people and things moving over the floor in the room above. The use of resilient channels will help reduce the vibrational noise, and the soundproofing insulation takes care of the airborne sound from voices, music, and other objects.
The first step is to thoroughly check the floor for holes and cutouts for electrical wires, boxes, and plumbing leading to the floor above. Remember that these air gaps can compromise the performance of your soundproofing installation. At each hole, fill and seal the gaps and holes with an acoustic sealant.
The next step is to install the soundproofing batts in between the floor joists, just as we did in the walls previously. Floor joists are wider than wall studs, but it is OK to use just one layer of soundproofing insulation. If you use one layer, don’t push it up to the floor. Keep the insulation snug between the beams, and level with the bottom of the joist boards.
Once all the insulation is up, the resilient channels can be mounted to the joists. Start he first channel butted up against one wall, and run them perpendicular to the joists. Space each row of channels at 16” center to center spacing. You can use regular drywall screws for this.
The final step is to attach the drywall directly to the resilient channels. Do not mount the drywall to the joists, that defeats the purpose of the channels. Use fine threaded drywall screws, as they will best grip the sheet metal channels. Here is another video demonstration of soundproofing a room from our friends at Roxul.
Extra Soundproofing Steps
Now that you’ve learned the best way to soundproof a room from it’s core, there are some additional steps you can take to further enhance the acoustics in your room.
Window Treatments – Consider purchasing some plush acoustic curtains to treat your windows. The heavyweight fabric can help dampen interior noise, as well noise coming in from the outside.
Floor Treatments – Some high quality rugs or soundproof underlay material can really put a damper on noise related to a tile or hardwood floored room. The rugs help dampen the echo and reverberation, and this work especially well in home theater rooms.
You did not mention green glue for walls. Is the sound proofing insulation bats sufficient? Also how does sound board compare to the green glued walls in cost and performance? I am adding walls to make another bedroom in the house. The open design of the kitchen and family room let sounds travel into the bedrooms very easy.
What is the comparison between Batts and spray foam
What door do you recommend using for the furnace room? The furnace is HE and has it’s own piping for combustion air but the room will also contain the gas water heater. I can build the room as big as I want.
My wife and I are turning our basement into a home theater, so thanks for these soundproofing tips. I like your point about using panels and wood studs in the wall cavities. I’ll be sure to do this so the noise gets absorbed and doesn’t leak into the rest of the house.